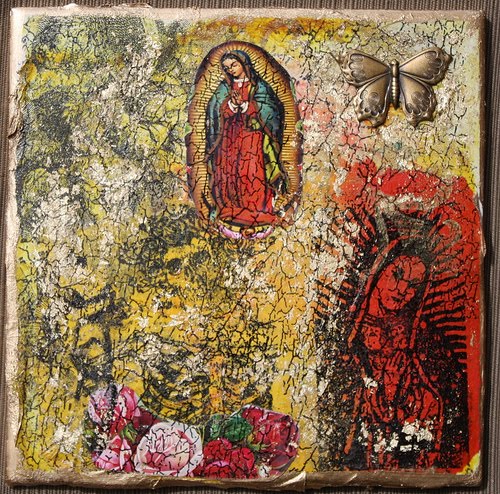
Looky here, you get a twofer today! Yep, got mi own tutorial to share and a WONDERFUL tutorial given by Kristen of Pepper Paints!
First up, is making postcards out of all your junk mail and paper scraps. Truly, the possibilites are endless, and it also makes you feel good to know you are creating and recycling at the same time! I made the cards below for a few swaps, and had so much fun, I just wanted to share, because, well, that is how I roll, Chicas!
Materials:
Junk mail, catalogs,newspapers,bills, paper scraps, left over ephemera, etc
glue stick
scissors
card-stock (preferably recycled, from existing post card ads or cereal boxes and or packaging .
Directions: Really, do you need them? lol, cut away and get to gluing all over. Here are a few I made today!
 Can you feel me? I like these because they are super easy to make, you can complete several at a time, and you can go crazy or keep it simple. Either way, they will still be the bomb, because they are handmade and ready to send out. There is a huge movement on hand written postcards and being that I am old school, I am really digging these trades!
Ok, and for the grand finale! I ran across this blog and I was floored at the simplicity and the bang this craft put out!
(copied and pasted with Kristen's permission, of course)
*********************************************************************************
This weeks Unplugged Project is Metal. The long weekend threw me off a bit so I am posting a day late-but better late then never! This Mexican Metal Tooling project is super easy, no mess.
You will need some heavy aluminum-we cut cake pans apart-scissors, stack of newspapers, paint brushes, permanent markers. Optional materials list to follow.
Place your aluminum square on your newspaper stack and use the back of a paintbrush to draw a picture/design. You can flip your square over and draw on the other side too so that some of your drawing sticks out and some is concave.
Now use your permanent markers to color in your picture.
The next part took longer than anything. I punched holes in the corners and used jewelry wire to string the tiles together and tied them to a dowel rod. We hung some beads off the bottom for weight. This is optional but I think it really looks great. Because we used permanent markers I plan to hang this on our back patio but tonight could not find a single place to hang it to get a good photo. This was the best I could do.
Note–after cutting the pans up the edges are a bit sharp, you may want to use masking tape and tape the square down to the newspaper while working on it. Be careful!
Here is a photo I took this morning outside-looks a bit better!
How fabulous is that? I am already doing a progect (Big Ass Matchbox Shrine Swap) using her technique! Awesome. Please be sure to visit her inspiring page and tell her Snatchy sent you!


6 comments:
Hey! I sorta have an "in" with the chicks who run this local craft night & web site. I bet they'd like to post this as their first tutorial.
Whaddya think?
I agree! They are hella cool and they have excellent taste! ;-)
what fun and quick tutorials!! i hardly ever run across heavier aluminum to recycle in my household. need to save some soda cans next time round. thanks for sharing
Love it! Thanks for the tute!
woooey! the juices are a flowin' and the mind is working overtime! Love me some MAIL ART, the twofer post has me wanting to try my hand at tin art.
Thanks for dropping in and leaving me such a FUN comment, you always put a big fat funky smile on my face. How do you do that???
Art on wyld chica, I wanna see what you do next, Monica :)
Inspiring blog! I love the name Ha! ....Thank You
Denise Nantasket Beach,Massachusetts
Post a Comment