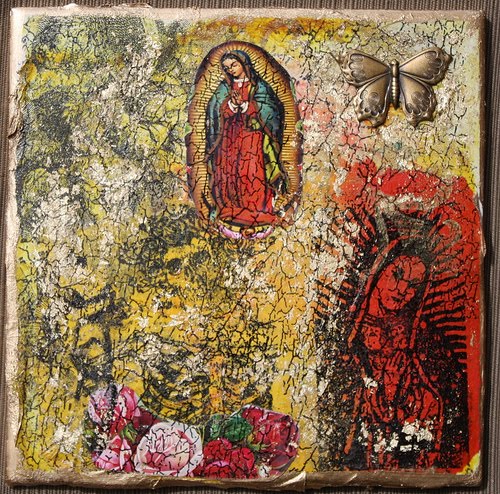
It's time for another easy sleazy tutorial from your girl, La Sacred Snatchy! I was inspired to write this tutorial after participating in an altered Business Reply Envelope swap, hosted by my homegirl, Juli of Swap-bot. I have thrown away countless junk business reply envelopes that always annoyed the scrap out of me! Anyhoo, after altering just one envelope, I was hooked and now I am actually telling the peeps at my office to give me all their junk envies! I will never buy envelopes again and I have a something to do with all the scraps of paper I feel to guilty to throw out! It's a win, win, situation, I tell you! (Not to mention the "Green" aspect, either!)
all my bits and pieces of ephemera a.k.a. scraps of this and that,

I highly recommend a good quality glue stick. You don't want your masterpieces falling off en route to your lover or Sancho. (shhhh) You can actually use any glue, I just love glue sticks at the moment and I have even used them successfully gluing fabric to paper. (that is another tutorial in the works)
Anyhoo, cover the front of your envelope real good with glue. Especially the edges of your envelope. Note, if your envie has a window that is not covered. I simply stick a piece of paper on the inside of the envie, and when I get busy with my gluing, it will eventually adhere to the decorative papers I stick on the outside.

Then turn your glued envie face down on the back of your paper of choice and burnish real good. If you are using scraps , just lay your scraps all over your envie and burnish from there.

Like I said, burnish, or smoosh with your hands real good! Don't worry about trying to align your papers within the envie, because you can always cut around your envelope after gluing to remove any extra papers.

Ohhhhhhhhh, here is the fun part, Embellishing! Sky is the limit. For real, you can not screw up this project. Ok, well, maybe a little. Make sure your embellishments are flat and not bulky. You don't want them getting ripped off in the mailing process! I use pics, glitter glue, fabric, ribbon, rubber stamps, inks, crayons, oh who am I kidding, I use everything!
 Don't forget the backside either!
Tada............ Finito. For real, you can spend a whole lot of time on this project or you can whip one of these out in no time! I think this would be a great project for the kids too!


Please give this craft a try, and when you do, post a link to your artwork!
Viva La Arte!


 Stumble It!


5 comments:
I love it! I am going to start saving envelopes right now! I don't know why I haven't been. I also saw somewhere to use old packaging from cereal, etc. to make envelopes from...now if I could just find my envelope templates.
Girl, it's addicting. I use cereal boxes and past boxes for my altered postcards!
what a great idea! i've made my own envelopes using those envelopes as a template, but never thought of recycling them. must try!! did you get my postcard yet??
see you soon!!!!
Not yet! I can't wait to see it!
cool tutorial! indeed, viva arte
Post a Comment